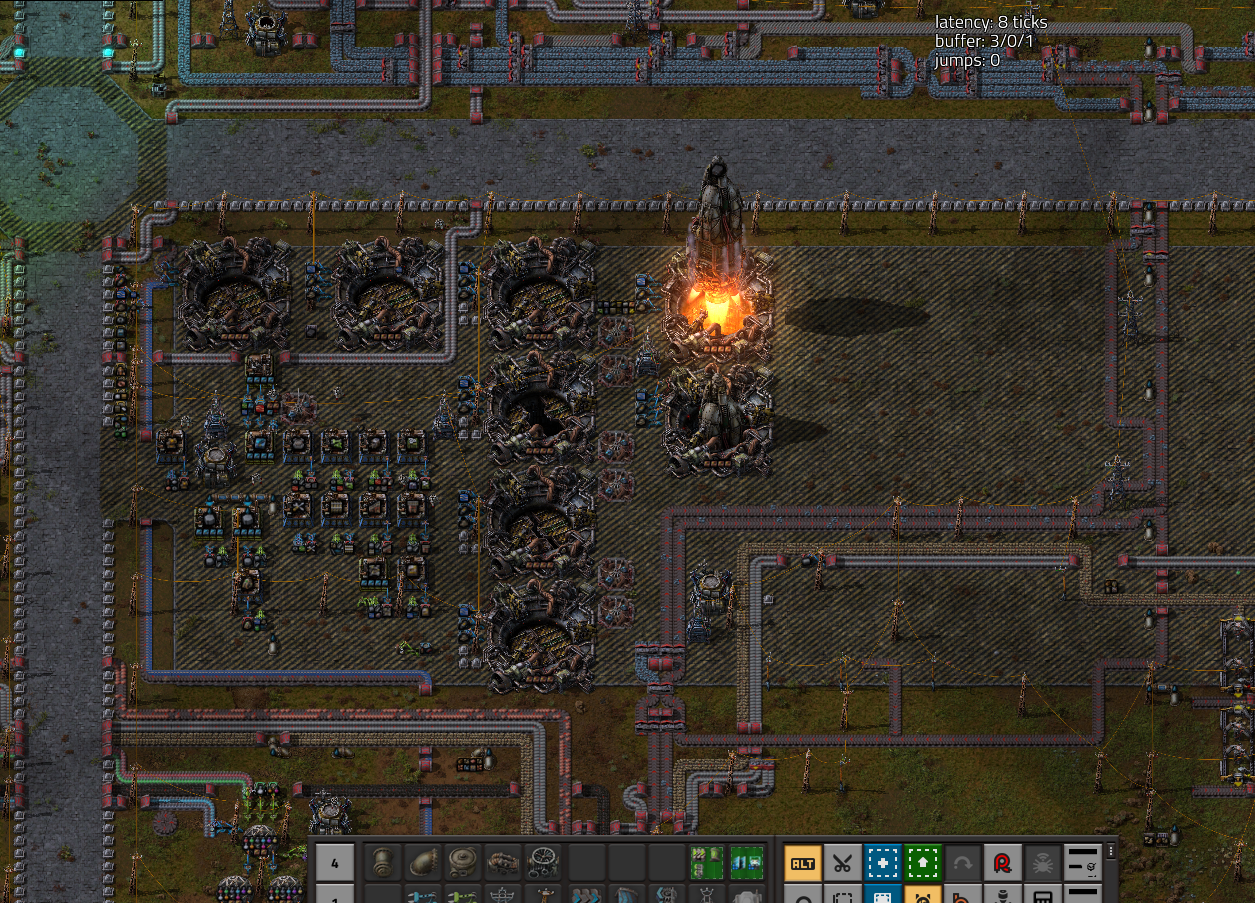
I have been hooked on Factorio for years now. It is my favorite video game, and probably one of the most impressively documented feats of software engineering in gaming. Check out their long-lived series of technical blog posts: Factorio Facts Friday. It’s been a real treat learning about the development of the game as it has matured over the years.
One of my favorite parts of the game is playing cooperatively with others. I’ve gotten to collaborate with friends on long-running games and some seriously impressive factories over the years. Sometimes these games were hosted on personal computers, or basement servers, but that means we would rely on one member of the group to be online or manage the server even if others wanted to play at a different time. Doesn’t our impressive factory deserve an equally impressive and resilient server? 😉
Maybe it’s overkill, but I think so! So I moved our server to the cloud…
Finding the Right Hosting Solution
Originally, I just manually installed the server software on a simple GCE VM. This got the job done, but it was a hassle managing updates, and most frustratingly, it was a challenge to dial in the right size of server as our factory grew.
Luckily, some kind folks maintain container images of the Factorio headless server. This alleviated some of my maintenance woes, but at this point, why not use a modern container-based solution?
My first choice would have been Cloud Run, a fantastic serverless platform that can scale up and down to zero as needed. However, Cloud Run is hyper-optimized for HTTP traffic, and Factorio uses UDP for faster, if less reliable communication. (This is the part where I’d tell you a joke about UDP, but you might not get it. 🙄)
Instead, I decided to use GKE Autopilot to provision just the resources I wanted, when I want them. Also, I decided to use Spot VMs in order to save money. This means my server can be pre-empted and shut down at any time, but with a robust setup, it will auto-save, and in practice, it doesn’t actually happen too often. This configuration required some initial setup, but lets me scale the size of the server as our factory grows, as well as turn it on and off on demand without having to deal with manually managing VMs, disks, or other parts of the cloud infrastructure. I also know that I can repeat this process again to start fresh whenever I want to. So let’s dive in and see how I did it.
Building the Foundation - Your GKE Autopilot Cluster
First, ensure the GKE API is enabled on your project. If you haven’t used GKE in this project before, you’ll need to run this command:
gcloud services enable container.googleapis.com
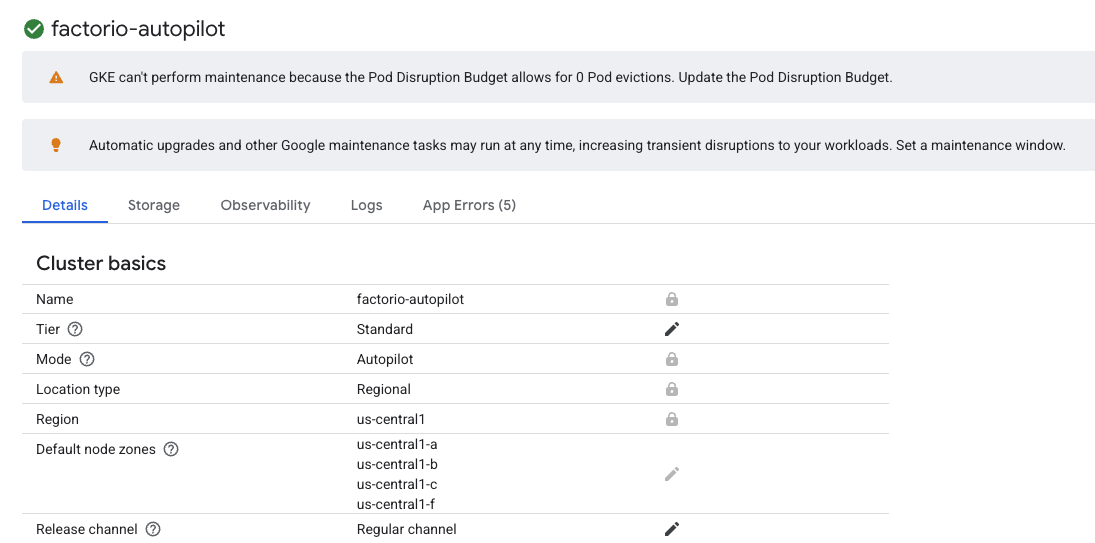
I used GKE Autopilot for my cluster so that I don’t have to manage nodes myself. This is particularly handy when migrating to a larger VM, or scaling down to zero when we’re not playing for a while.
(I used us-central1 as a geographic compromise with friends on the East coast. Feel free to pick a different region closer to you.)
Once your cluster is up, we’ll apply some configuration to it. This configuration will allow the factorio server to run without needing a persistent server or disk that you have to manage.
A GKE Autopilot Cluster
Kubernetes Configuration
ConfigMaps
Since we’re running a generic container of a Factorio server, we need a way to get our game settings on there. For this, I used Kubernetes ConfigMaps based on files on my computer (in this case, Cloud Shell).
I created two directories, config and mods (optional, but lots of fun to customize your server.)
In config you’ll need your core factorio server configuration files:
map-gen-settings.json
map-settings.json
server-adminlist.json
server-settings.json
You can find examples of these in the factorio-data repository on GitHub. Copy the examples there and customize as needed.
In mods there is just a single file: mod-list.json.
Here are the mods we play with, but you can find lots of others on the Factorio mods site.
Set up a PersistentVolumeClaim (a disk) to save our game and load our configs
Use initContainers to initialize the disk with our configuration, mods, and delete the existing map if necessary (CAREFUL here… it WILL delete your saves if you tell it to with the GENERATE_NEW_MAP flag, false by default)
(The first time you start the server, it will generate a new map no matter what)
Start a pod running the Factorio dedicated server
Note the resources section of the deployment file. This tells GKE what kind of resources we want for this server. I’m using 2 cpu and 4Gi of memory because our game has grown quite large. You could start lower (even as low as 0.5 cpu and 2Gi memory) and grow from there.
If you do change the settings, just re-deploy the factorio-server.yaml. You might want to scale down and up the deployment to force it to use the new resource requests.
Importantly, it uses Spot VMs to save money. This means they can be shut down with no guarantee of availability. However, the Factorio server is fault-tolerant and will gracefully shut down and save your game. In practice, our server rarely shuts down and when it does, it saves the game just fine.
If you want a more reliable (and expensive) server, you can simply remove the nodeSelector section or comment it out to use on-demand VMs.
Set up a LoadBalancer to provide an external IP address you will use to connect to your server
Connecting to Your Server
Since we set up a LoadBalancer in our yaml file, GKE will automatically create an external IP address we can use to connect to our game (and share with friends). Find yours by inspecting the deployed service:
kubectl get service factorio-service
You’ll see the external IP address labelled as EXTERNAL-IP. Use this address to connect to your server.
Even the Factory Must Sleep
Turning the server on and off is simple. Just tell the Kubernetes cluster to scale it to 1 replica (on) or 0 replicas (off)
kubectl scale deployment factorio-deployment --replicas=0# This will turn the server offkubectl scale deployment factorio-deployment --replicas=1# This will turn the server on
I use these commands to manually turn the server on and off as needed (or occasionally when it gets into a weird or slow state),
But why not automate this? We’re not playing Factorio 24/7 (yet).
factorio-scaler.yaml
apiVersion: v1kind: ServiceAccountmetadata:
name: factorio-scaler-sa---
apiVersion: rbac.authorization.k8s.io/v1kind: Rolemetadata:
name: factorio-scaler-rolerules:
- apiGroups: ["apps"]
resources: ["deployments", "deployments/scale"]
verbs: ["get", "patch"]
resourceNames: ["factorio-deployment"]
---
apiVersion: rbac.authorization.k8s.io/v1kind: RoleBindingmetadata:
name: factorio-scaler-bindingsubjects:
- kind: ServiceAccountname: factorio-scaler-saroleRef:
kind: Rolename: factorio-scaler-roleapiGroup: rbac.authorization.k8s.io---
# CronJob to scale the Factorio server down to 0 replicasapiVersion: batch/v1kind: CronJobmetadata:
name: factorio-shutdownspec:
# At 00:00 (midnight) every day in Mountain Time Zoneschedule: "0 0 * * *"timeZone: "America/Denver"jobTemplate:
spec:
template:
spec:
serviceAccountName: factorio-scaler-sacontainers:
- name: kubectl-scalerimage: google/cloud-sdk:latestcommand:
- "/bin/sh" - "-c" - "kubectl scale deployment factorio-deployment --replicas=0"restartPolicy: OnFailure---
# CronJob to scale the Factorio server up to 1 replicaapiVersion: batch/v1kind: CronJobmetadata:
name: factorio-startupspec:
# At 17:00 (5 PM) every day in Mountain Time Zoneschedule: "0 17 * * *"timeZone: "America/Denver"jobTemplate:
spec:
template:
spec:
serviceAccountName: factorio-scaler-sacontainers:
- name: kubectl-scalerimage: google/cloud-sdk:latestcommand:
- "/bin/sh" - "-c" - "kubectl scale deployment factorio-deployment --replicas=1"restartPolicy: OnFailure
kubectl apply -f factorio-scaler.yaml
This (optional) yaml file will turn our server off at midnight every night, and back on at 5 PM. In practice, we could make it even more aggressive since we usually only play on weekends, but this is a reasonable starting point that basically cuts my server bill in 1/3!
Have Fun!
Hopefully this guide helps you get started with your own GKE deployment of Factorio. It’s been a very reliable setup for me and my friends, and I hope it can be that for you too!
Wishlist
If I could add one feature, it would be the on-demand scaling up and down as we connect and disconnect from the server. I haven’t cracked that bit yet, and I figure that the single-digit dollars it would save me are probably not worth spending too much time thinking about. But if you’ve got a solution, I’d love to hear it! Let me know!